
Considerations when setting up your Home Theatre Projector
Home theater setups are the ultimate way to enjoy your favorite movies and shows. They allow you to experience a more immersive viewing experience by bringing the action right into your living room. Whether you have a large living room or small apartment, it’s possible to set up a home theater that offers an authentic movie-going experience. Home theater setups with projectors are an excellent way of getting premium viewing experiences in a smaller space.

The best projector for home theater will depend on a number of factors such as the size of your room, the kind of setup you’re looking for, and of course your budget. There are a number of different technologies used in projectors and one of the most important considerations will be whether you’re looking for an LCD or an LED projector.
Projectors are a bit more complicated to set up than TVs, and may require a few extra steps. If you aren’t familiar with the process, our guide will walk you through what to tackle first, and what to know about making those key adjustments.
Setting up Your Home Theatre Projector
Find your Optimal Throw Distance
The optimal projector throw distance is determined by the size of the room, the size of the screen, and the type of projector being used. Generally, the ferther away the projector is from the screen, the larger the image will be. Generally, a distance of 1.5 to 2.5 times the width of the screen is recommended. For example, if the screen is 10 feet wide, the optimal projector throw distance would be 15 to 25 feet.
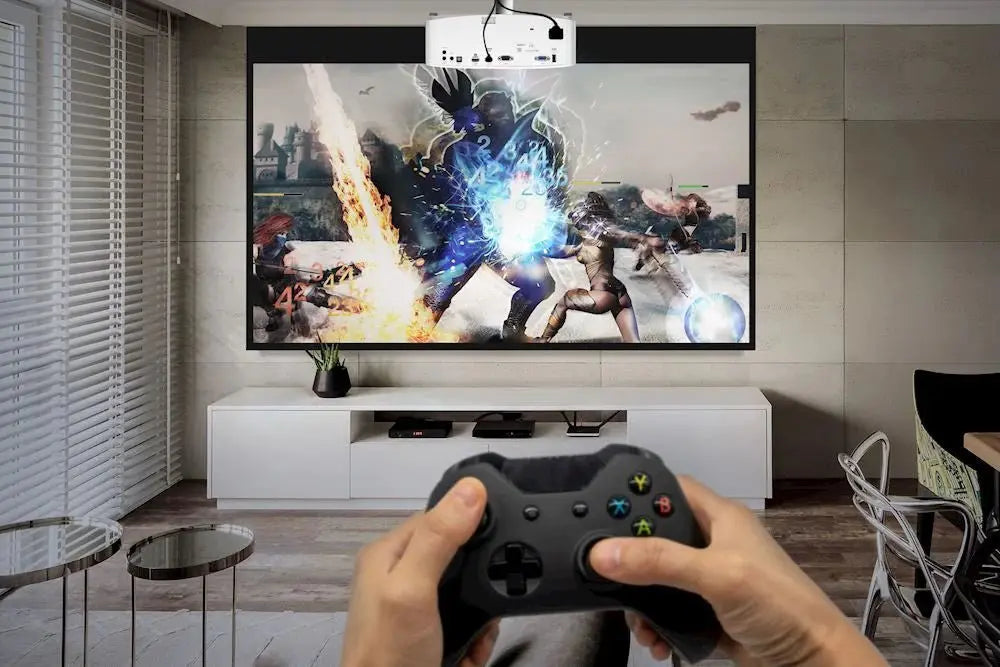
Projector Placement
Now that you know your throw distance, it’s time to decide where to place your projector. Projector placement is an important consideration for achieving optimal image quality and viewing experience. Here are some factors to consider when placing a projector:
-
Distance from the screen: The distance between the projector and the screen determines the size of the projected image. You can use a projector calculator to determine the optimal distance based on the screen size and projector model.
-
Screen size: The size of the screen will also determine the optimal placement distance of the projector. Make sure the screen size is appropriate for the viewing distance and room size.
-
Room size and layout: The size and layout of the room will also affect the placement of the projector. You want to ensure that the projector is placed in a way that does not obstruct the view or create shadows on the screen.
-
Ceiling or wall mounting: Projectors can be mounted on the ceiling or wall. Ceiling mounting is ideal for larger rooms, while wall mounting is suitable for smaller spaces.
-
Keystone correction: If the projector is angled up or down, it can cause distortion in the image. Keystone correction can be used to correct this distortion and adjust the image for optimal viewing.
-
Ambient light: Ambient light in the room can affect the image quality. Consider using blackout curtains or blinds to reduce ambient light and improve image quality.
-
Power source and cable management: Ensure that there is a power source and adequate cable management available for the projector.
Overall, proper projector placement is essential for achieving optimal image quality and a comfortable viewing experience.
Align your Image with Lens Shift
To align your projector image with lens shift, follow these steps:
-
Position your projector in the desired location and turn it on.
-
Use the remote control or menu buttons on the projector to locate the Lens Shift option.
-
Adjust the lens shift until the projected image is properly aligned with your screen or projection surface.
-
Use the focus and zoom controls to fine-tune the image size and clarity.
-
If necessary, use keystone correction to correct any distortion caused by the projector's angle.
-
When you have achieved the desired image quality, secure the projector in place using the appropriate mounting hardware.
It's important to note that the exact steps for adjusting lens shift will vary depending on the make and model of your projector. Always refer to the manufacturer's instructions or user manual for specific guidance on how to adjust lens shift and achieve the best image alignment.

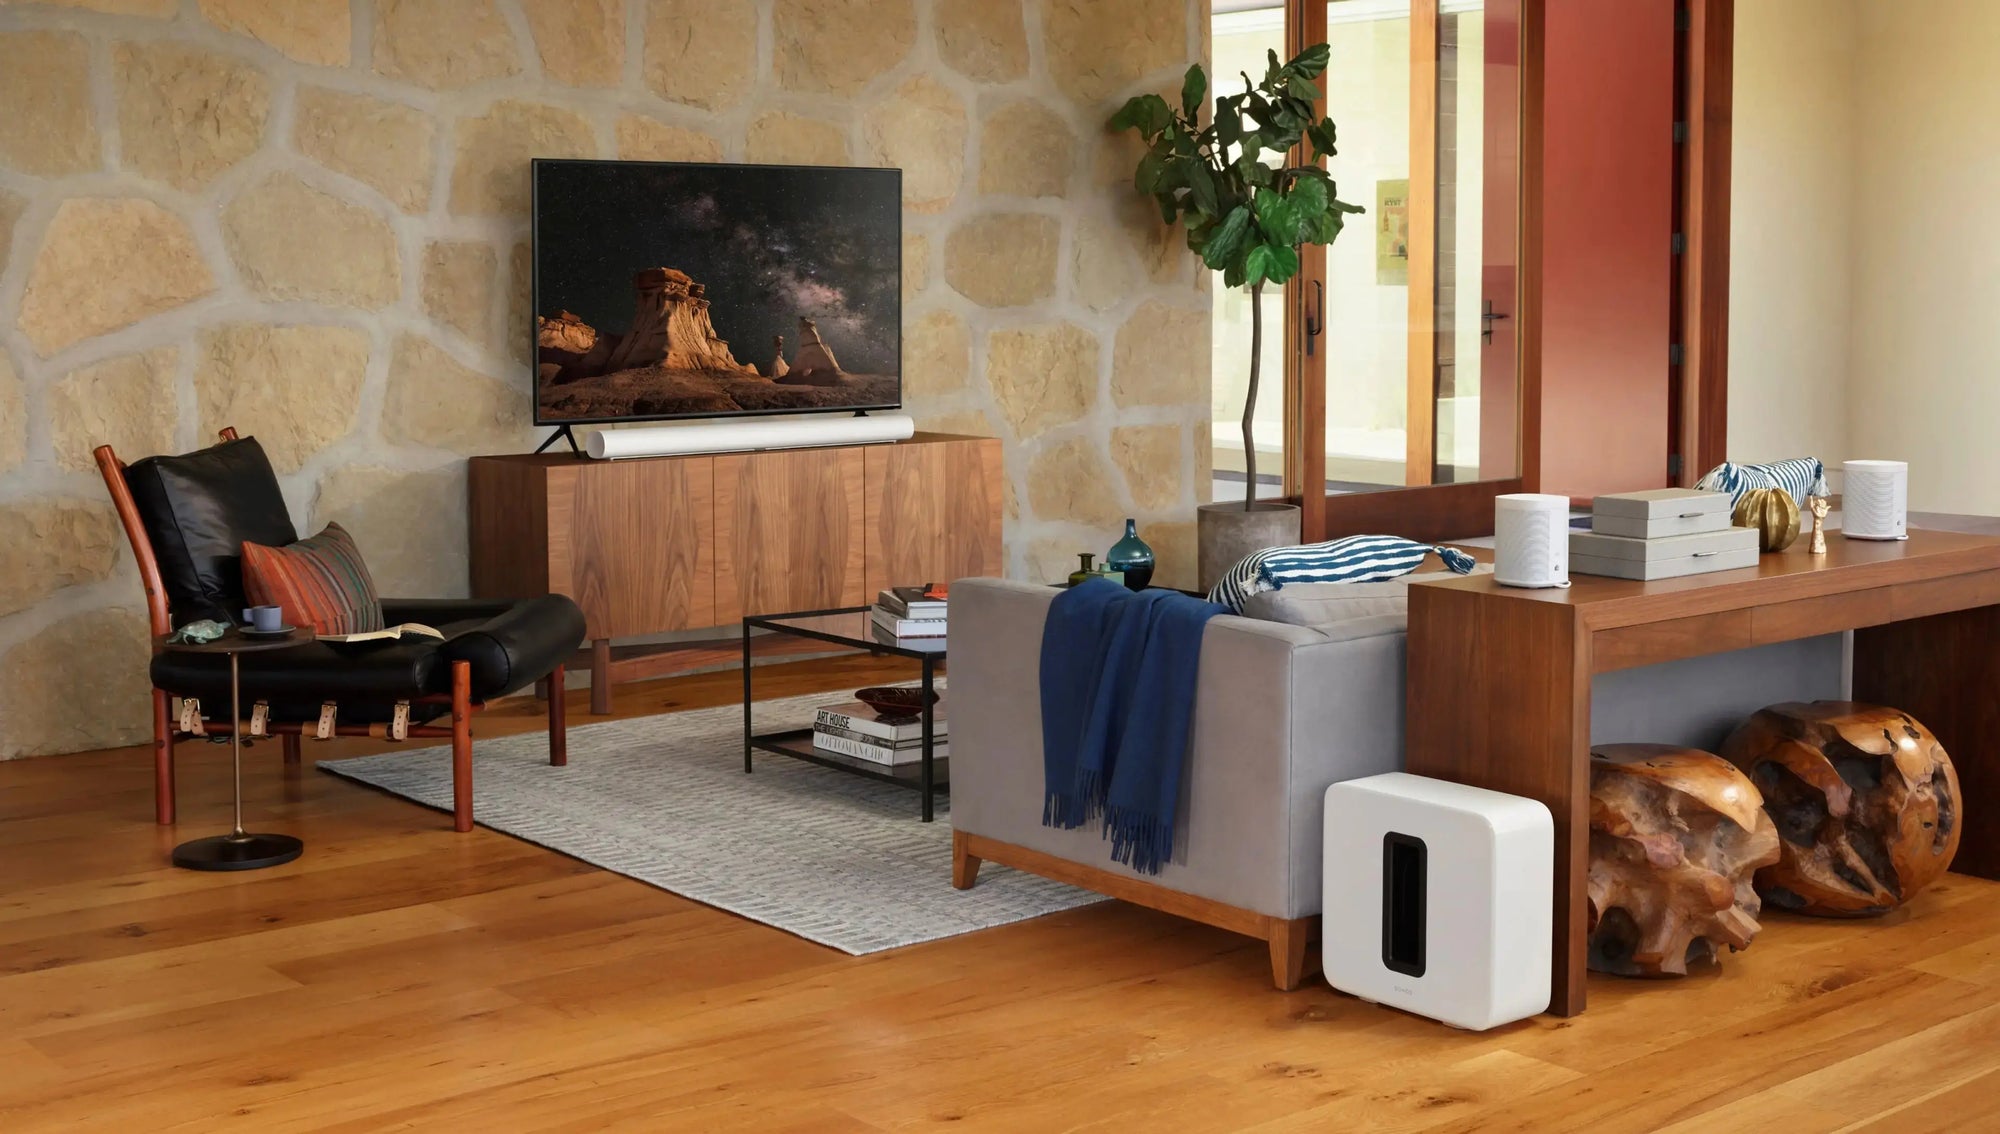
Setup your Audio
To set up audio for your projector, you can follow these steps:
-
Check the audio output options on your projector: Most projectors will have a built-in speaker or an audio output jack. Some newer models may also support Bluetooth or Wi-Fi audio streaming.
-
Connect speakers: If your projector has an audio output jack, you can connect external speakers or a sound system using an appropriate cable, such as an RCA or 3.5mm audio cable. Make sure that the volume on your projector and speakers are turned up.
-
Connect Bluetooth or Wi-Fi speakers: If your projector supports Bluetooth or Wi-Fi audio streaming, you can connect wireless speakers or a sound system following the manufacturer's instructions.
-
Adjust audio settings: Once you have connected your speakers or sound system, you may need to adjust the audio settings on your projector to ensure that the sound is synchronized with the video. Check the user manual for specific instructions on how to adjust audio settings.
-
Test the audio: To test the audio, play a video or audio file and adjust the volume to your desired level. If the audio quality is not satisfactory, try adjusting the volume or adjusting the audio settings on your projector.
It's important to note that the exact steps for setting up audio will vary depending on the make and model of your projector and the type of speakers or sound system you are using. Always refer to the manufacturer's instructions or user manual for specific guidance on how to set up audio and achieve the best sound quality.
Conclusion on How to Setup Projector Home Theater
The best home theater setup with a projector is the one that works best for your unique situation. Start by choosing the right projector – whether that be LCD, LED, or another technology. Then, consider the placement and set up of the projector, including any mounting options. Finally, select a screen that works well with your room and one that you’ll be happy using for years to come.